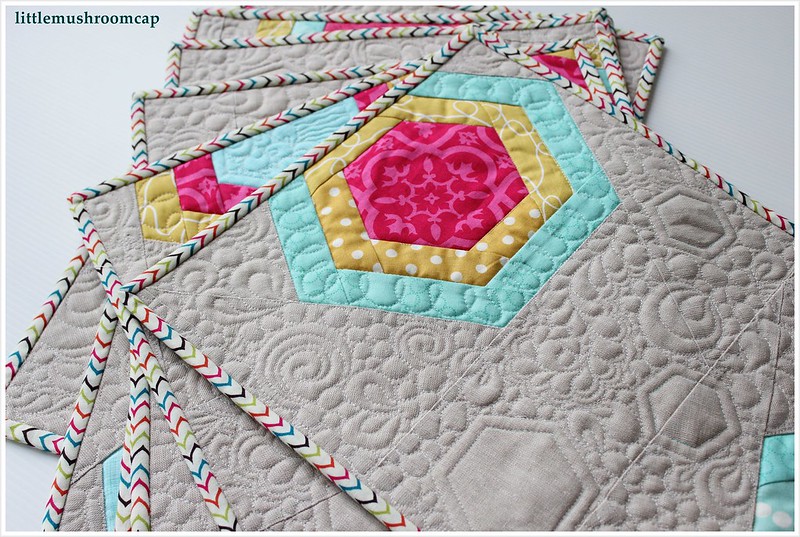
As promised, today I will be sharing with you how I improv piece the hexagon blocks in the placemat I shared last post here. Be warned, this is a photo heavy post and probably wordy too. It is so hard to explain things in words! :)
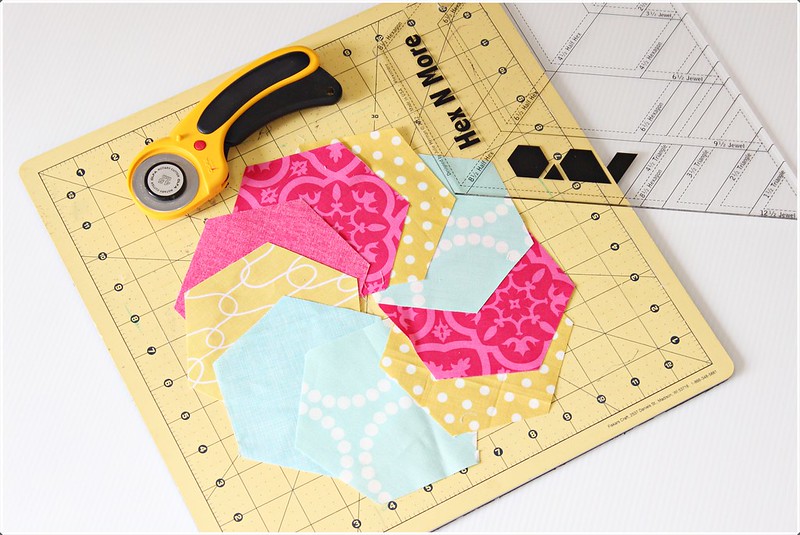
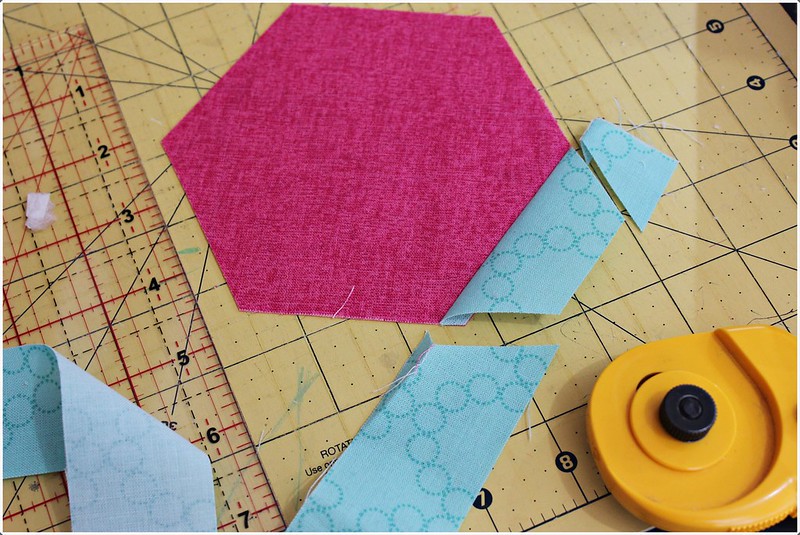
1.Begin cutting out hexagons. I am loving my Hex n More ruler by Jaybird Design. You can of course start with any size, this is an improv style anyway, no rules in measurements here. Just for your info, I cut a 4" hexagon.
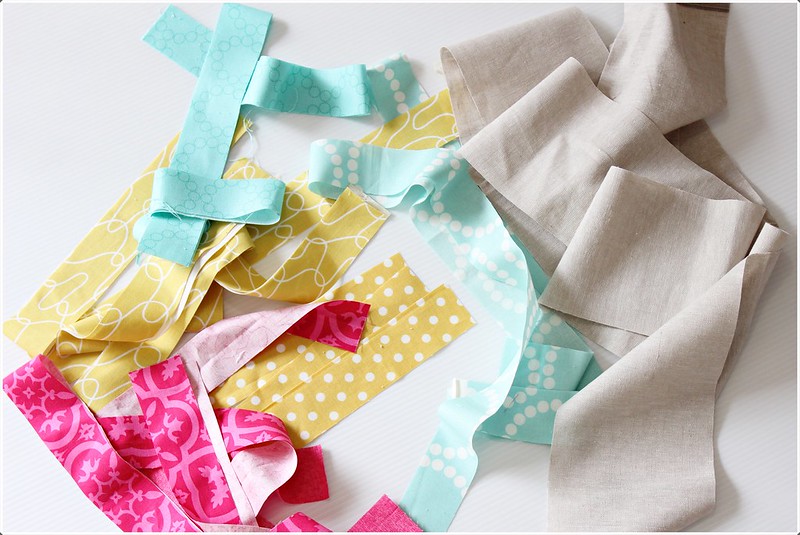
2. Then start cutting strips. I chose to cut all of the printed ones 1.5" wide. However, you can go more improv by varying the strip's size. You will end up with a non-symetrical hexagon in the end but it will still be the same method. The background fabric has to be of a larger strip. I cut 3.5" strips from my background Essex dyed linen.
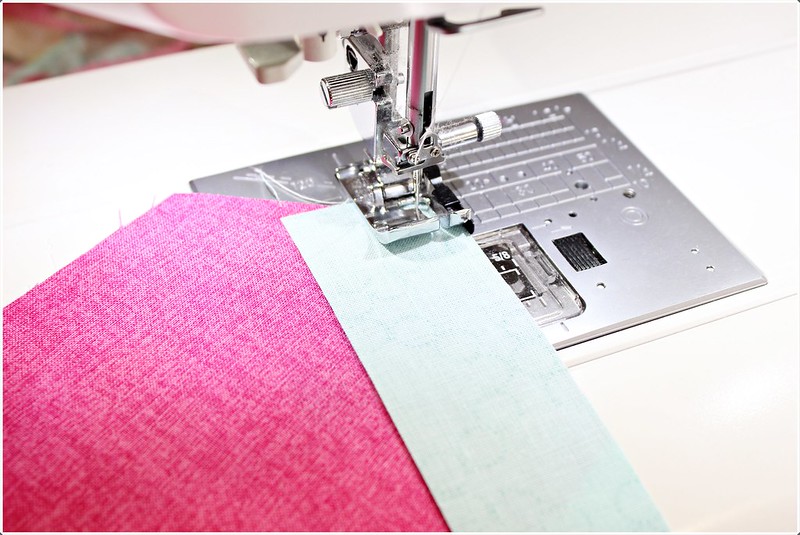
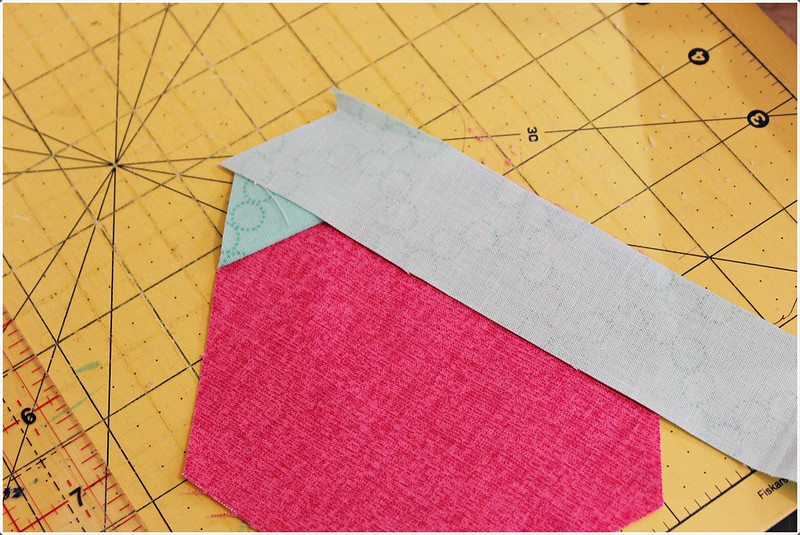
3.Start piecing strips to one of the hexagon side. Put the strip right side together on the hexagon piece. Strips need to be about 0.5-1" above the first corner. We will trim it later.
4. Press and Trim. Align your ruler with the sides of the hexagons and trim away excess.
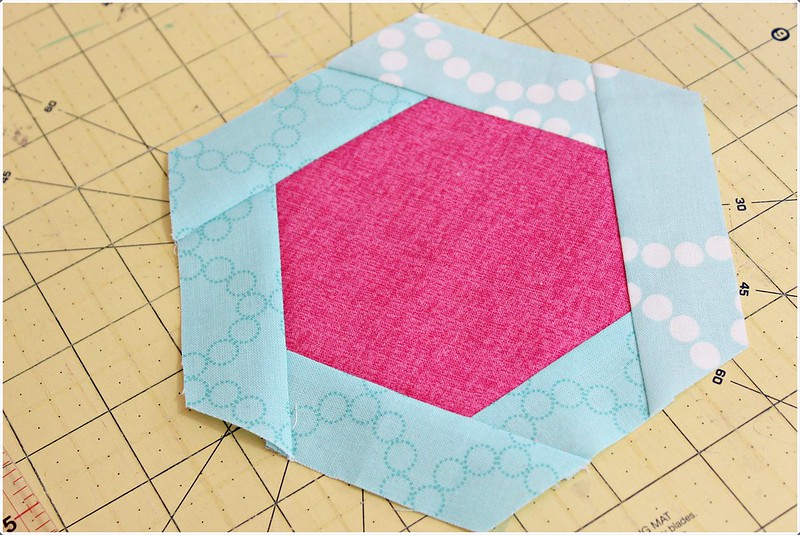
5. Continue with all sides.
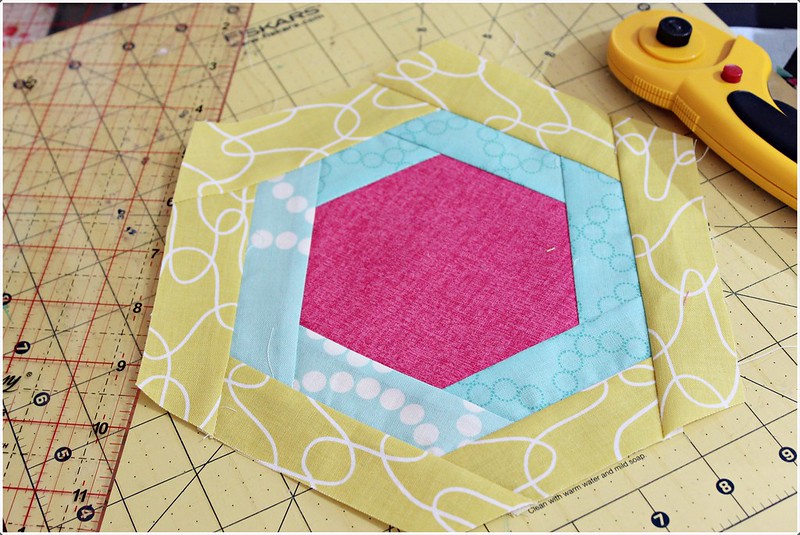
5. Do again the same for another layer. You can continue to do as many layers as you want.
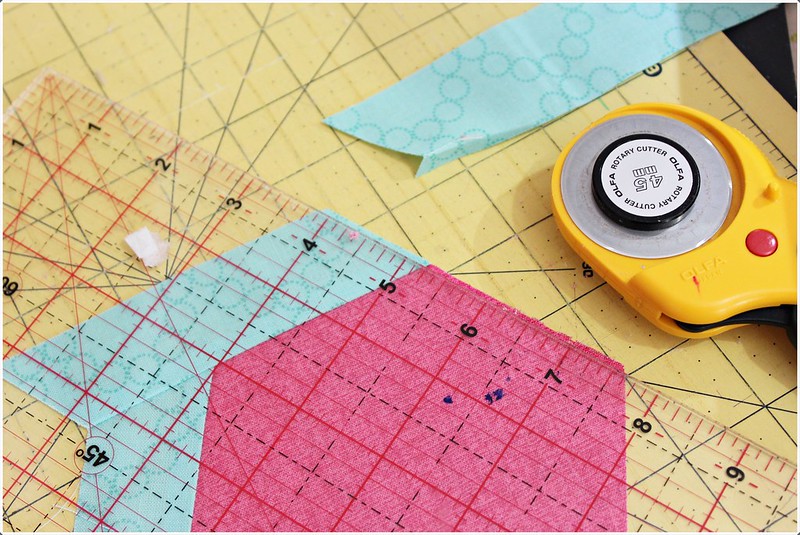
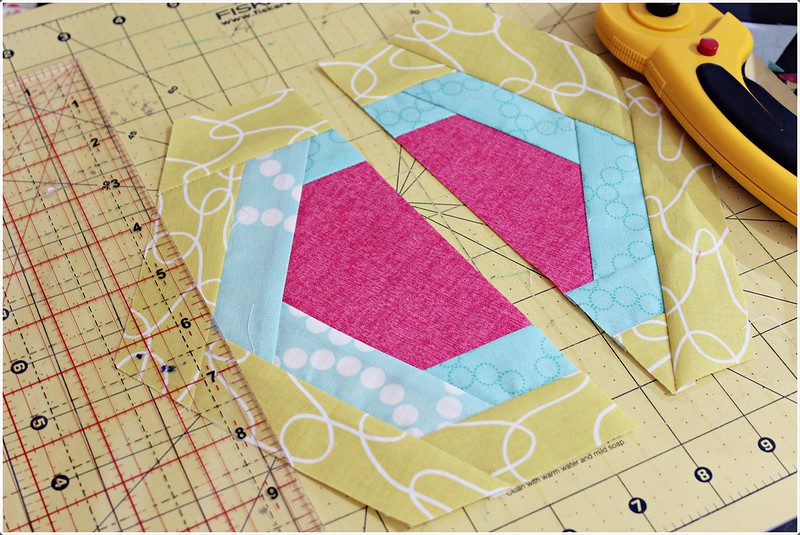
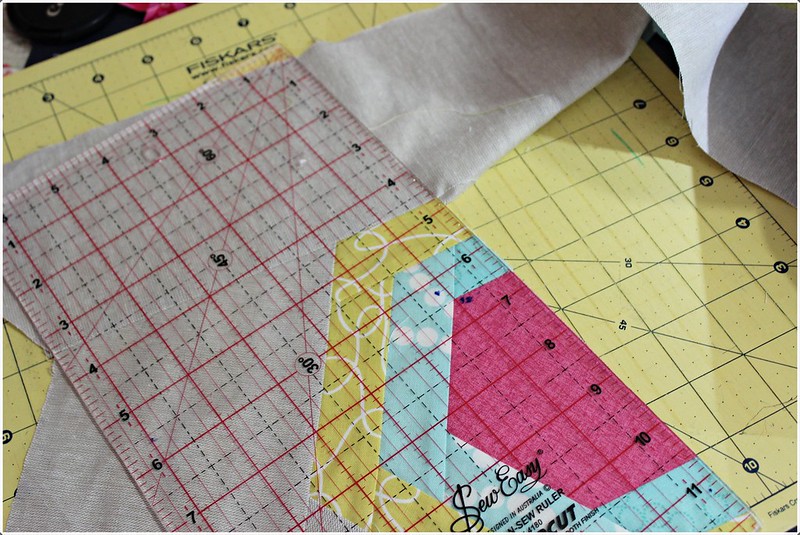
6. Now it's time to slash it in half. Find a suitable angle that basically cut the hexagon in half, yet not so exactly symetrical. Remember, you want this to have that edgy modern improv feel.
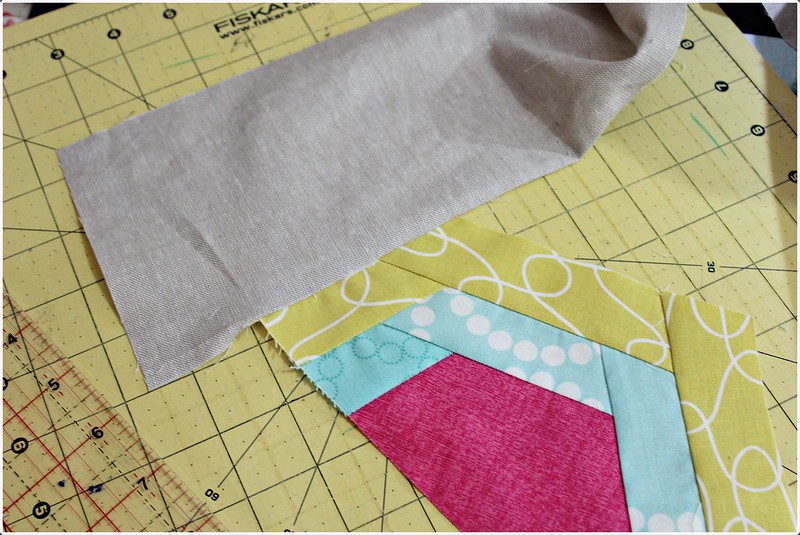
7. Now, the newly cut side is going to be the main side of your final block.You do not want to sew background fabric to this side. This side is from now on referred as the base side.
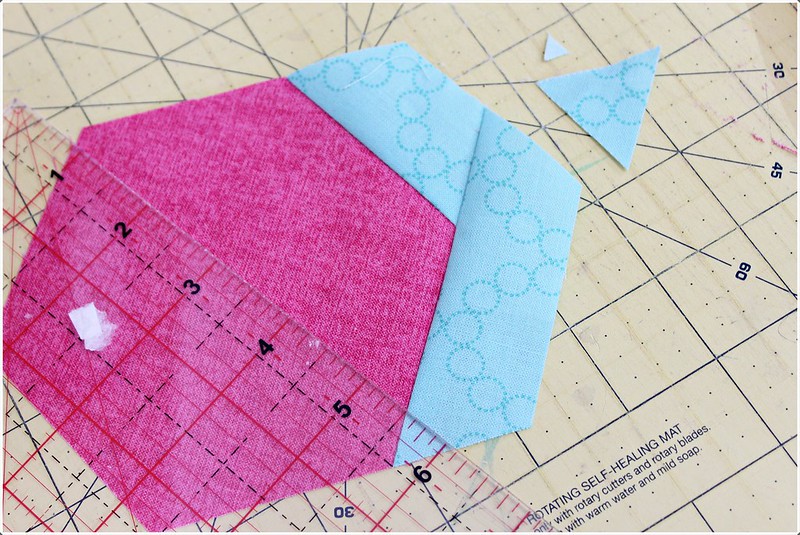
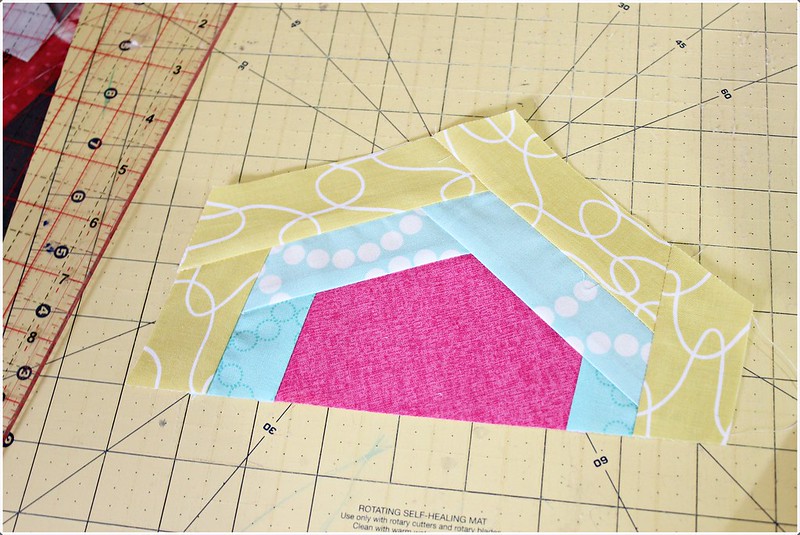
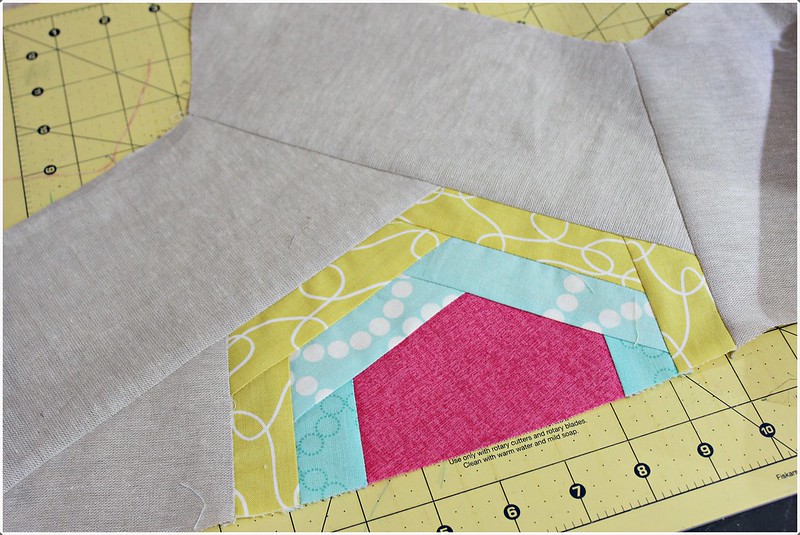
8. Now you can start piecing the background strips to each side except the base side.Just be aware, this is a larger strip than before, so you would want to give some extra gap at the beginning by placing the end of the strip about 1.5-2.5" away from the hexagon corner.
9. Trim as before.
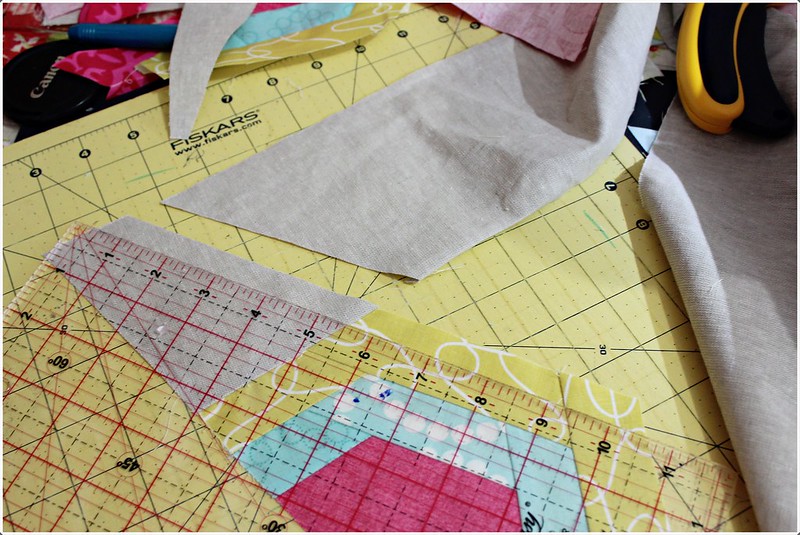
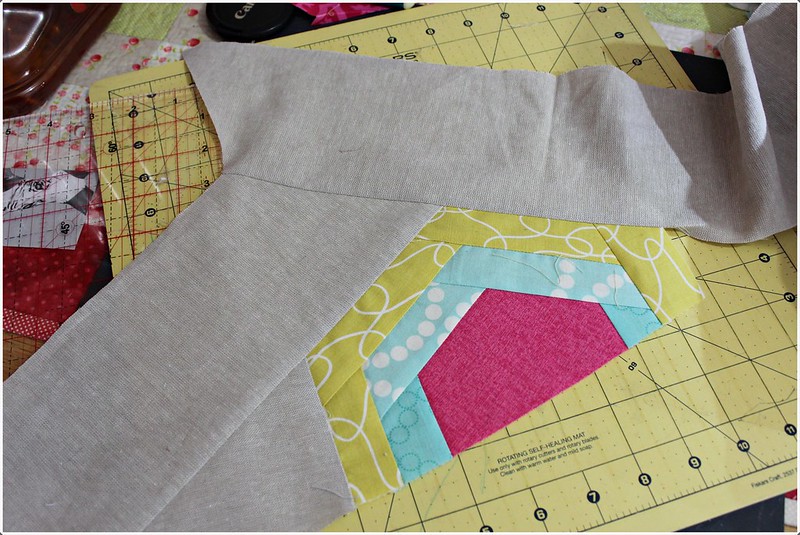
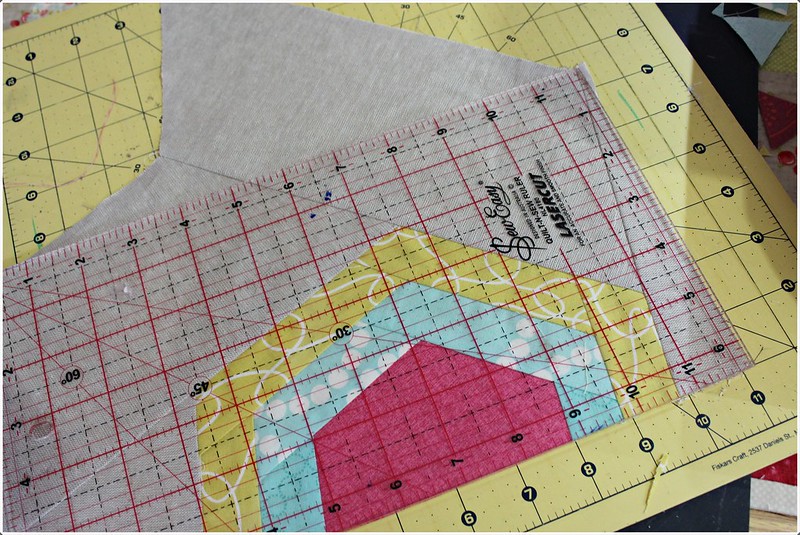
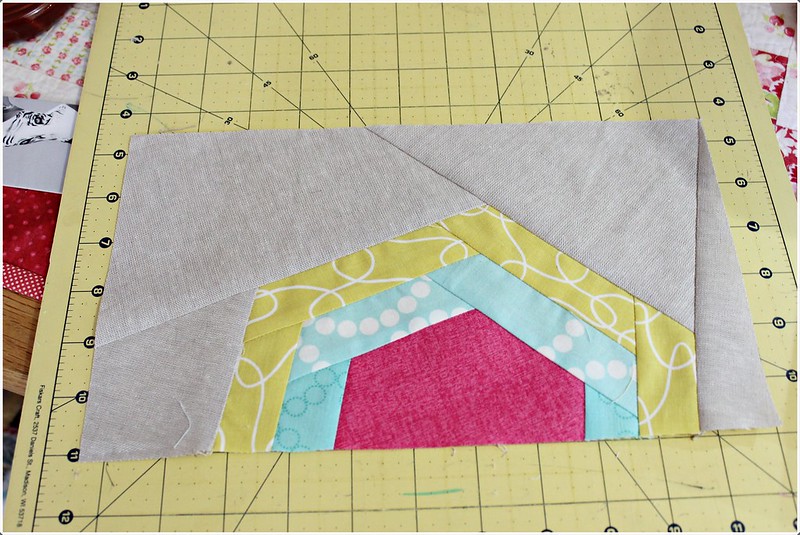
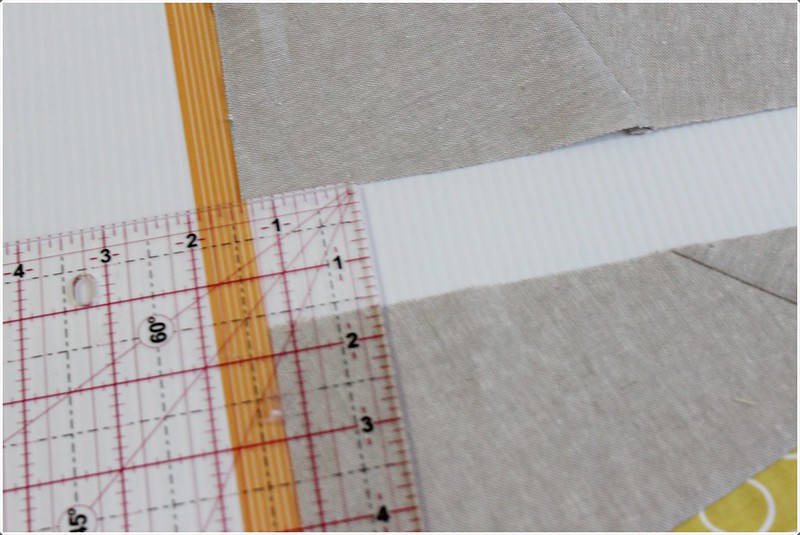
10. Now we are going to square up the block. Take your ruler, make sure one edge of the ruler is aligned with the base side. This will make sure you have a square corner when you cut. Move your ruler along this edge and make a cut. (I guess, you will have to kind of have a feel where to cut. Of course make sure your hexagon IS in the final block!)
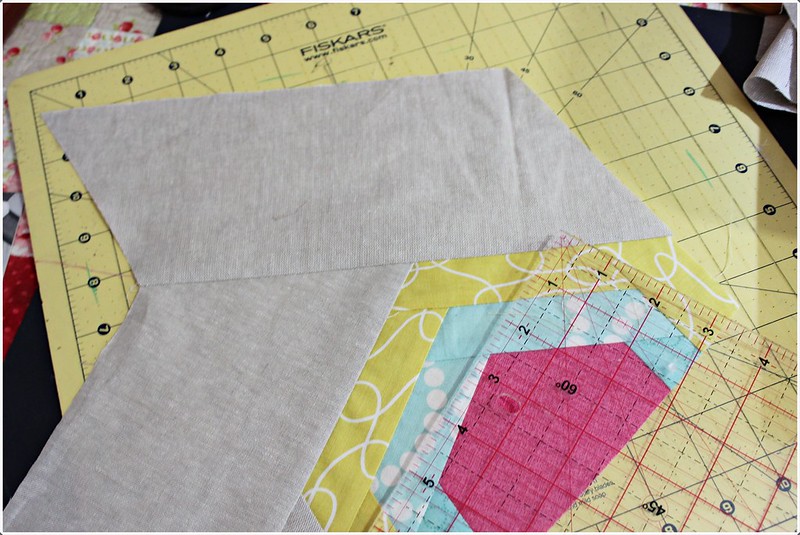
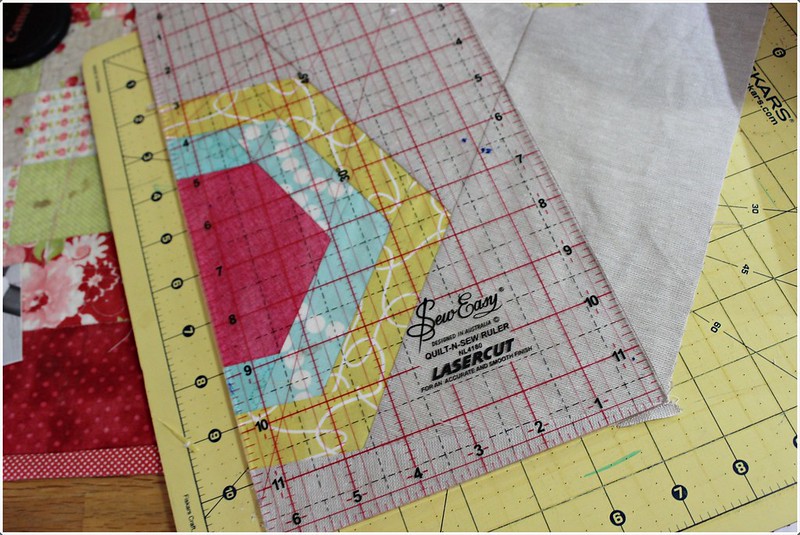
11. For the second cut, align your ruler with the newly cut edge. I didn't make my blocks the same size, so I just try my best to cut where waste is minimal and yet all corners are squared.
12. And you are done with your block! All corners squared up and it will be easy from here to piece one block to another.
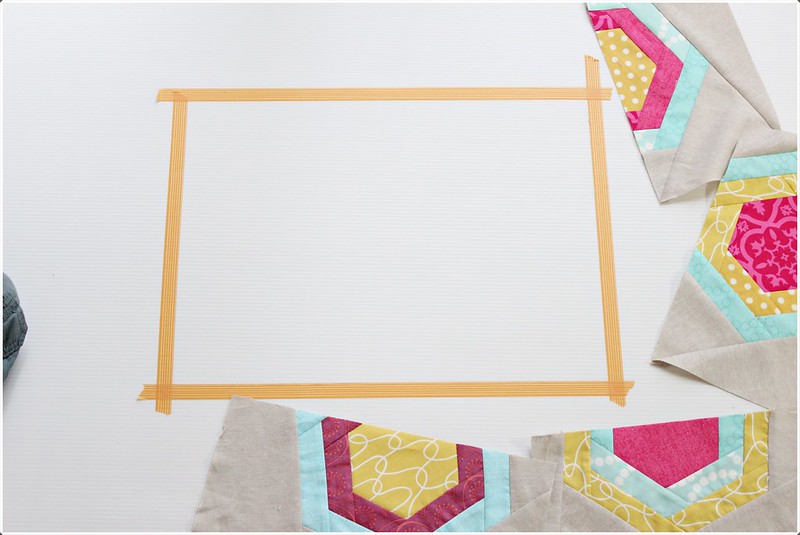
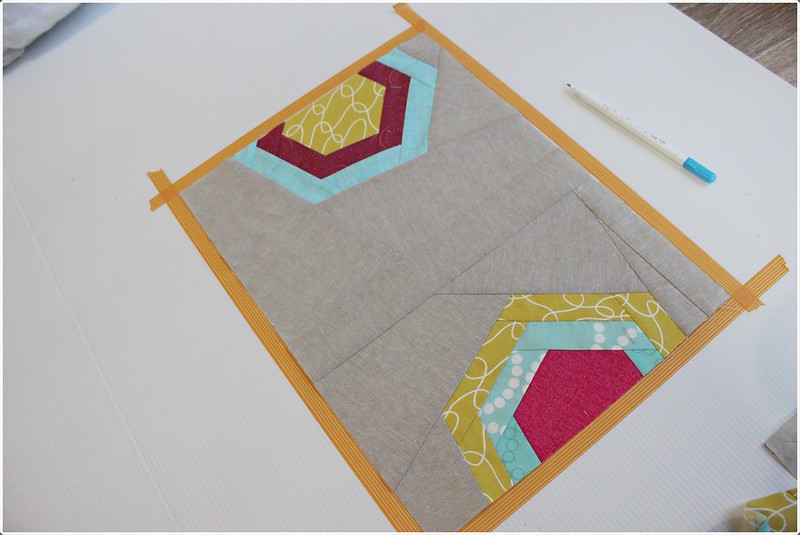
13. For the placemat, I used a design board where I tape a final size of the placemat with a washi tape.
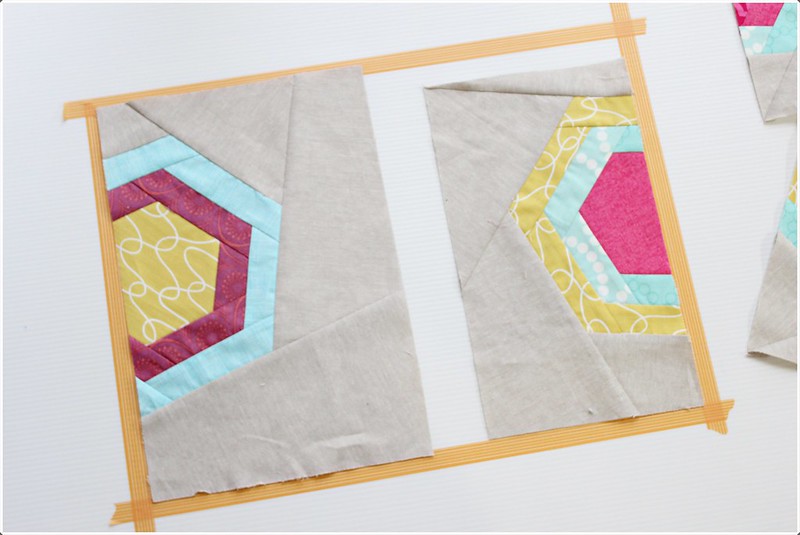
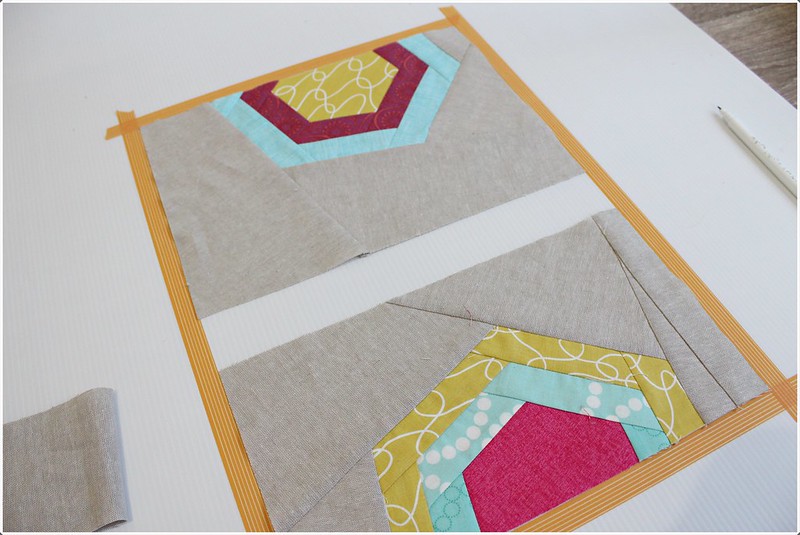
14. Then I play around with the blocks. Putting two half hex blocks on the placemat and filling in the space between them with more strips of the background fabric.
15. To know how large should your strip be, measure the width of the gap and add 1" (for a 0.25"seams). That should be the strip size you should use to fill in the gap .
Tadaa....
I hope you will give a try! i had so much fun making them.